Getting started in Hydroponics – With Kratky Hydroponics
Why hydroponics? and why Kratky Hydroponics?
Kratky Hydroponics has several advantages over traditional methods of growing crops. While hydroponics seems like a big scientific word it is essentially no more than growing plants in fortified water without soil. In most cases, plants grown via hydroponics are sheltered indoors and tend to be better protected from the elements. Because their nutrients are provided in a readily accessible medium, they tend to thrive and grow much faster than traditional plants.
Since they are not expending unneeded energy seeking out additional nutrients they are able to expend that energy in fighting diseases and since they are grown in a controlled environment are not as susceptible to things such as mold and rot on their leaves making for healthier plants over all.
There are several popular methods of growing plants in a hydroponic system; some of these are a wick system, deep-water culture, ebb & flow, drip systems, aeroponic among others. This post is going to focus on the Kratky hydroponics method, which is a variation of the deep-water culture and is a relatively simple and inexpensive method to get started with.
What is Kratky Hydroponics?
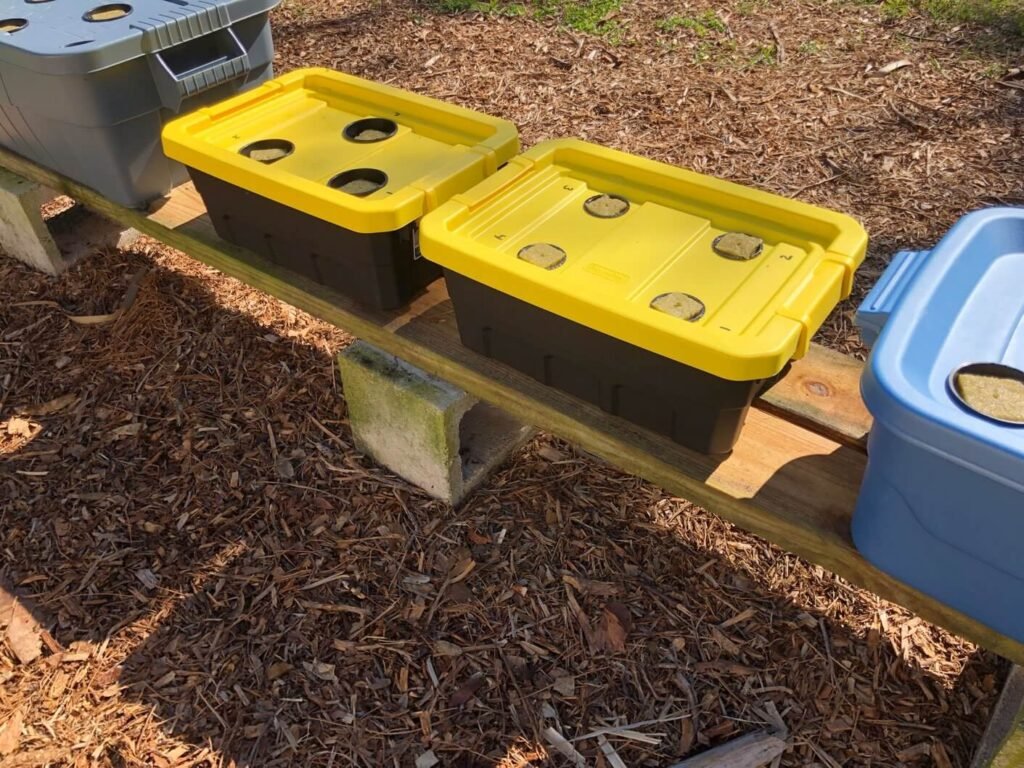
Kratky Hydroponics is a relatively simple method, in which you take a large lidded container fill it with nutrient enriched solution (water and vitamins). You then cut holes in the top in accordance with your plant needs and the size of your container. Sit the plants down in the holes and allow their roots to dangle down to the water, you want some of the roots exposed to the air and some in the water this will allow them to grow properly.
Starting a Kratky Hydroponics system.
The first thing you will need to do is decide the plants that you wish to grow in this method. This particular method works best with green leafy vegetables such as lettuce, spinach, and household herbs. It can potentially be used for larger plants such as tomatoes and peppers but is not the ideal solution and these plants will require much larger containers.
Once you have selected the plants you wish to grow then you can decide on the size pot and container you are going to use. You will also need to select a growing medium to use in place of soil. Some of the popular ones are rockwool, expanded clay-aggregate, coconut fiber, perlite, and vermiculite. Many of these can be either found at your local stores, such as home depot or ordered online. Another option that may be readily available, though not the first choice, is those small rocks found in fish tanks.
Now that you have your plants, grow material and container you can start to get set up. Lettuce and most herbs will do fine in a 2 inch cup while peppers, tomatoes and even squash will do better in larger cups such as a 4 inch. These can be specialized baskets or you can make do with homemade ones. I often use small Styrofoam cups for the lettuce plants. Take a nail that is smaller than the grow medium you are using and poke numerous holes in the bottoms. You will need an ample number of holes in order to ensure that the roots of the plant can get out once they are started.
Next take your container lid and mark off spots the same size as your cups with enough room between each to account for the size of the plant. So, for lettuce you would want to have the cups about 10 to 12 inches apart if growing heads. Once you have laid out the marks and confirmed where you want them, it is time to cut out small holes for the cups to fit in. Make sure that the hole is large enough that the cup can fit down into it, but not so large that it falls through. When using the foam cups I described the top lip around the cup provides a nice ledge to hold it in place while giving it a decent depth in the lid.
Sprouting the seeds in your Kratky Hydroponics system.
Now it is time to get your seeds or seedlings ready. There are a few options here. First is you could buy seedlings which are already sprouted and wash their roots off in warm water. The next is that you could start them yourself as seeds in something such as Jiffy Peat pods or a more traditional method and then harvest the seedlings and wash their roots off. Another way is that you could start the seeds yourself in the cups you have ready. This will take a little more work and care at first but save work later on.
For now, I am going to stay away from starting with seeds. This due to my lack of familiarity in this area and wanting to try a few ideas and make sure I provide the best information possible. As such we are going to go with seedlings. I normally start mine in this Jiffy 72 plant starter kit. This is an affordable kit at just under $8.00 from my local home depot, that coupled with two packs of seeds allows me to start plenty of plants for under $10.00. When starting seeds I generally do half the pack as one seed type and the other half as the other.
Some things to consider is the temperature should be at least 70 if not closer to 80 degrees Fahrenheit to ensure germination. Also, make sure that they have just enough water that they are somewhat moist but not soaked, over watering, could cause rot. If you are starting them inside prior to the weather, warming up you can find special waterproof heating pads to encourage them to sprout early.
Once your seeds have sprouted.
Once sprouted you want to allow them to reach about two inches in height before trying to move them. You also want to look for any roots that may be running across the bottom of the planter tray, that is a sign that they are ready. In a traditional hydroponics system, you would need to remove the small bag and peat moss from around the root system by cutting the small mesh bag off and then gently washing the roots clean. However, with the Kratky system this is not as necessary since there is no pump that could be clogged up by the soil.
You will take your small seedling and the ball around its roots and carefully place it into your Styrofoam cup. Very carefully take any trailing roots that you observed and feed them down through the holes you made in your cups so that they dangle out of the bottom. Hold your seedling and pod in the center of the cup and fill the void around it with some of your growing medium. I find the aquarium rocks work well in this set up as their more to stabilize the plug than anything.
Now you want to mix your water and nutrient solutions and then fill your container. The liquid should be just below your cups at this time with the root system barely in the water. If the roots are not quite long enough to go below your cups you may need to manually water them for a few more days. I would use a spray bottle with the same mix of nutrient water as below them and spray them several twice a day just to ensure they stayed moist. Once the roots have reached the water you should be fine to leave them be. Check the water ph levels a few times a week and ensure that it remains between 5.5 and 6.5.
Depending on the particular plant you chose you may be able to start harvesting from it, for most plants its somewhere around the two to three month period.
Harvest and clean up.
If you are growing plants such as tomatoes or beans on a vine then you will need to provide a method for them to be tied up. I frequently use a small piece of fence wire suspends over the containers to tie the plants off to. Once you have finished the harvest and are done, simply pull the plants out and discard them, rinse off your aquarium rocks and foam cups if their still in decent shape and you are all set for the next year.
Conclusion
This article was meant to be an introductory foray into the world of hydroponics and is by no means an all-inclusive guide. Look for more articles on the other types of hydroponics as well as an introduction to some of the nutrients and where to obtain those.
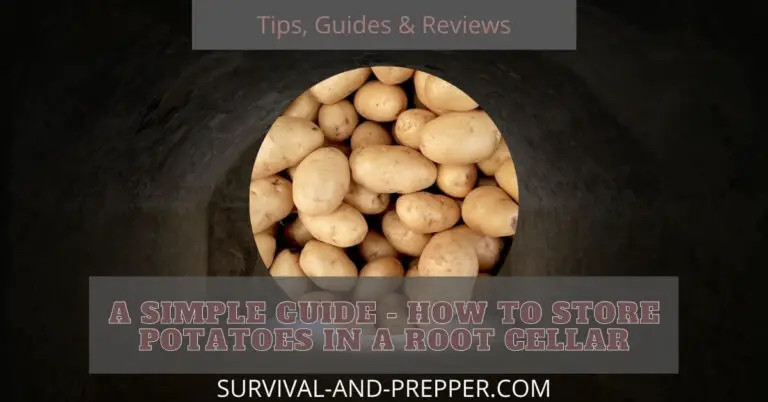
Also, since this is a Prepper site think about vegetables that you can store for your stockpiles as well. For instance, extra tomatoes and peppers can be canned as sauces, cucumbers and green beans can be pickled, and other vegetables can be stored as bases for soups etc. Keep this in mind as your selecting the vegetables and amounts you are going to grow. While you’re here check out our articles on Prepper food storage lists and Why you should become a Prepper.

2 Comments