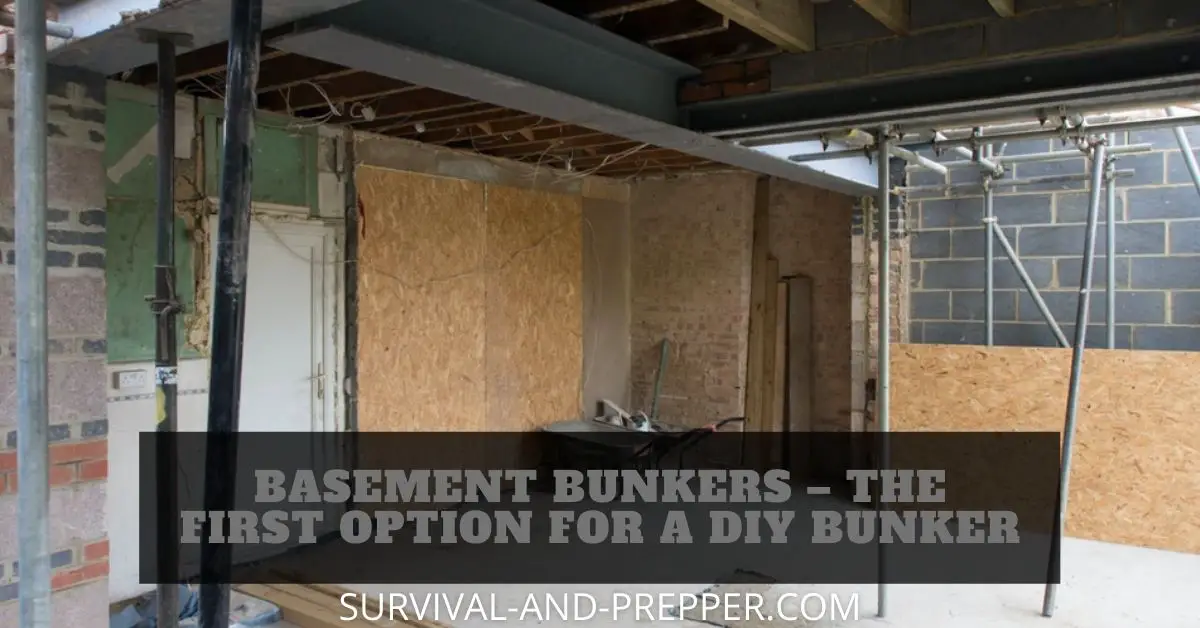
Basement Bunkers – The First Option for a Diy Bunker
Many people think bunkers are only applicable during a wartime situation. Webster’s Dictionary defines Bunker as a Protective Embankment or Dugout and separately as a bin or compartment. While these could apply to a military style bunker, they can also apply to everyday life and as an excellent Prepper Shelter. They can provide an increased level of protection during a SHTF situation as well. They are a great place to store your supplies, especially in cases where they are close by. Lastly, they can be used for more localized incidents such as tornadoes, hurricanes, and possibly even civil unrest. These are all reasons why you should consider basement bunkers as your first option for a DIY bunker. That is of course if you have a basement.
They also provide a secure place to store weapons and if you build up the walls and get a solid door can substitute as a gun safe as well.
Things to Consider for Basement Bunkers
The first thing you need to consider for any bunker is how much space you are going to need. The number of people you plan to accommodate heavily influences this. For example, a family of four or six will need a lot more space than a single person or couple. Once you have determined the number of people, consider how long you want the bunker to be able sustain you with no outside assistance. If you are primarily prepping for a hurricane or a tornado then a week may be enough, though I suggest a month at a bare minimum.
Remember to consider things such as sleeping space, food storage, ability to prepare to food, water, hygiene needs etc. Plan as if you are going to be trapped inside that entire period and unable to come out. This will ensure you think of things not normally considered. One idea is to write down every time you use an item. Not to count the number of times a specific item is needed, but to see how many items you use that you may not have considered. Do this for at least a week, though a month is a better gauge.
Once you have a list of the supplies you will need, you can estimate exactly how much space you will need, or if you need to figure something else out or make changes.
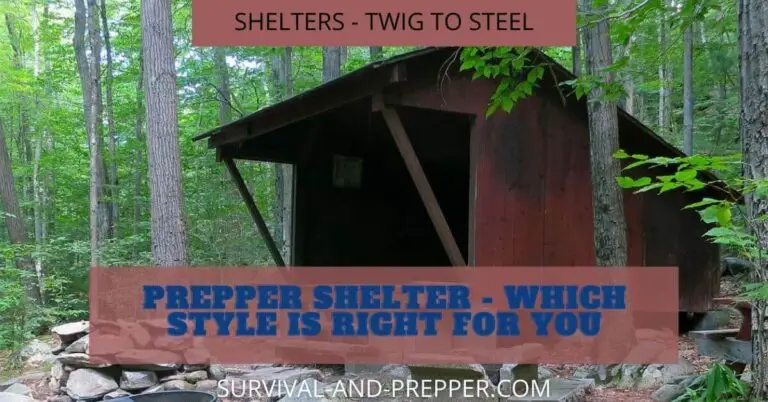
What Prepper Shelter is Right For You
Get started on those DIY Basement Bunkers
Obviously if you do not have a basement this is a moot point and you should perhaps consider building a backyard Bunker or some other option. Now assuming you have a basement the best scenario would be a full walk in basement that is unfinished with nice high ceilings or unfinished ceilings. The advantages of an unfinished basement are mainly that you have far more customizing options available to you.
So now that we have our basement select an area to accommodate the supply list you have made. In the case of my basement, I had a large area that was 12 by 30 feet long that was unfinished and unused. We had been using it nothing more than general storage. (The boxes we threw there when we moved in and never looked at them again.) Two of the walls in this area were poured concrete and there was an unused drain stub in the corner. This presented excellent opportunities.
Once you have selected the area you plan to use consider its purpose, do you want a very durable room that can survive a weather event like a tornado, a hidden room that looters would not find, a combination of both or some other scenario.
So now that we have our basement select an area to accommodate the supply list you have made. In the case of my basement, I had a large area that was 12 by 30 feet long that was unfinished and unused. We had been using it nothing more than general storage. (The boxes we threw there when we moved in and never looked at them again.) Two of the walls in this area were poured concrete and there was an unused drain stub in the corner. This presented excellent opportunities. Once you have selected the area you plan to use consider its purpose, do you want a very durable room that can survive a weather event like a tornado, a hidden room that looters would not find, a combination of both or some other scenario.
My DIY Basement Bunker
I originally started mine due to one of my children’s fear of storms. So since it was being built to withstand a tornado even if the house did not, I brought in 12x8x16 inch cinder blocks and stacked them along the two walls that were not poured concrete up to a point just below the floor joists. (Yes I used Mortar and built a proper block wall.)
I then used some 3 inch aluminum I beams I salvaged from a building they were about to take down. These were placed on 6 inch centers. I then put two layers of ¾ plywood over that and glued them to the aluminum with liquid nail. I know not the best solution but I figured that was better than drilling into the beams. The main thing behind this decision was that I figured it should provide a solid enough top for most cases. Additionally, it was relatively affordable costing me just under $1000 even though I purchased the cinder blocks and mortar from Home Depot.
A different Approach- Hidden Basement Bunkers
The above would be a very sturdy structure and would provide some security in addition to the storm protection. However, beyond the steps to build it I took no steps to conceal its presence if someone was to enter my basement they would easily find the door. In addition, as many of you know it would not provide ballistic protection, as cinder blocks are somewhat brittle if struck just right. Another option would be to have additional walls poured and then conceal the entrance. This would have the advantage of appearing to be the normal basement walls, a lot more durability and protection and a more rigid structure to support the overhead building. The main downside here is this method is far more expensive.
Another option for your basement bunkers would be to just use regular walls. Then pick up some heavy duty hinges and hide the entrance in a bookcase or some other object.
Additional Advantages of a DIY Bunker in your basement
Since you made the bunker yourself, not many people are likely to know that it is there. This is especially true if you purchased the cinder block a few at a time and brought them in through your garage. Basements are naturally temperature controlled if they are primarily underground taking their temperature from the dirt around them. I find that my basement area stays between 60 in the winter and 68 in the summer, without any heating or cooling in that area.
These temperatures make the area Ideal for storing canned foods and those items you preserved in jars. Storing water in 55-gallon drums such as these is simple. You can also add a spigot near the drums to fill them and replace the water in them during non-critical times. I suggest insuring you have some way to get the water out, taps either in the drums or a hand pump.
But the best thing of all about having your bunker in your basement is the fact that all of your supplies are right there. For those of us who live in more urban areas this is ideal as we may not have room outside to add stuff, or we may not be able to bug out in short notice.
Also due to the fact that in most cases your basement is already water proofed it is much easier to build basement bunkers than a stand alone bunker out in the back yard or at a bug out location.
Thanks for checking out the first of our DIY Bunker Ideas
I hope you enjoyed the article and maybe it will help inspire you to get to work on your DIY bunker. Perhaps your favorite part was the hidden doors, either way, I try to give you information you can use. Be sure to check out our other Prepper Tips and sign up for our newsletter.

Like!! Really appreciate you sharing this blog post.Really thank you! Keep writing.
I like the helpful info you provide in your articles. I will bookmark your weblog and check again here regularly. I’m quite certain I’ll learn many new stuff right here! Best of luck for the next!|