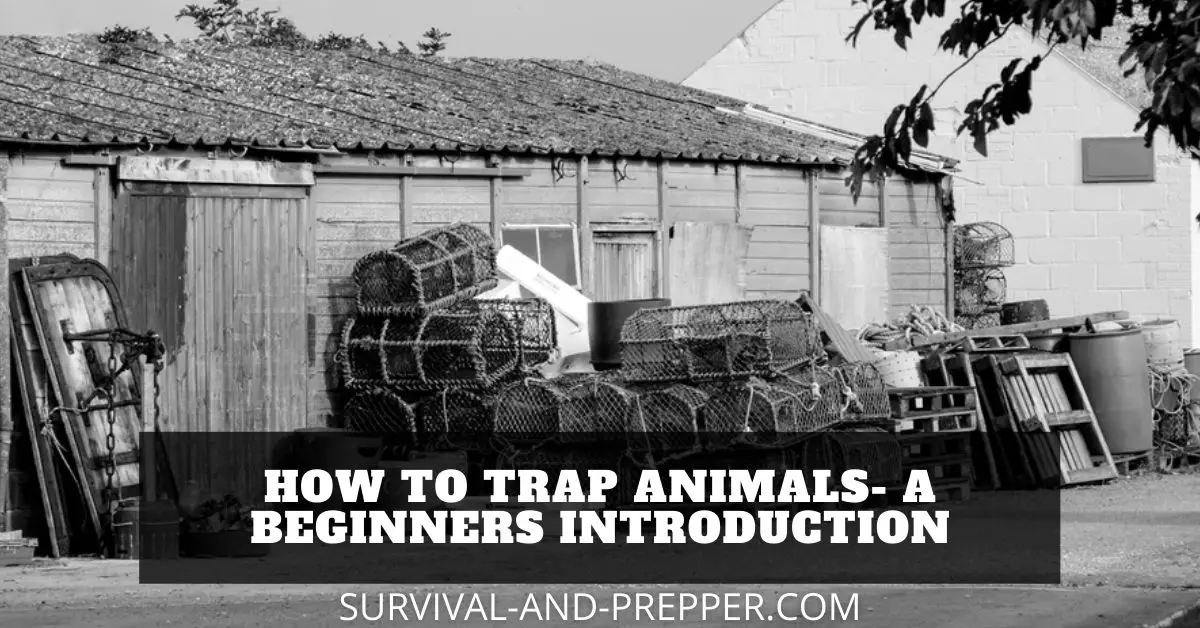
How To Trap Animals- A Beginners Introduction
Why Knowing How to Trap Animals Is Important To You
When it comes to a survival situation you have to remember that the first things you need to take care of are water, food and shelter. In respect to water and food these can come from either stored supplies or foraged and harvested from our surroundings. This is where knowing how to trap animals comes into play. As for shelter, let’s face it, you can go for quite a while without a designated shelter in all but the most extreme environments.
Check out this great article we wrote on how to purify water.
Most Preppers have already stocked large supplies of food and can rely on that in difficult times. At the same time other Preppers are just getting started or don’t have the space to store large stockpiles. In these instances you need to have a plan in place to supply food for your family. Many people will immediately jump to the thought “I can shoot animals for food or I can grow my own food.”
Why That Wont Work
In an extended survival situation that lasts for months or even years these two thought processes begin to break down. First shooting animals requires ammunition if using a firearm which is most people’s fall back. In an extended survival situation ammunition quickly becomes one of the most valuable resources around. If you can save your stocks in that area it is not a bad idea.
When people talk about growing food to survive they frequently skip over discussing the amount of time it takes to actually grow the food. What are you going to do for food until your harvest is ready? This again lends to why it’s important to know how to trap small game.
By supplementing your hunting and gardening with trapping skills you can supplement your food sources. Let us begin the journey to learning how to trap animals.
Disclaimer
I wants to insert a quick disclaimer as there are quite a few people who feel that trapping is inhumane. I am suggesting trapping in a survival situation where it could mean the difference in starving or going without clothing. At the same time I also do not necessarily agree with setting long trap lines that you only check once a week or so. I feel that you should be checking the line at least once each day, this both to preserve any potential food and minimize any suffering the animals may experience. Beyond that I neither agree nor disagree with trapping for profit, only that you follow all laws and regulations in effect at the time.
How Trapping Can Help You Manage Your Time
Both hunting and gardening takes large amounts of time. When you are struggling to survive and support your family in a SHTF scenario time is probably one of your greatest resources. By adding trapping to the mix you can make a small route near your home and quickly walk it spending as little as 30 minutes to set and check your trap chain.
Once they are set you do not have to remain occupied by them. You could then spend this time hunting larger game that you had to wait for. You could then go and tend to your garden or begin working on your shelter.
What are the Best Animals to Trap
This is an area that some people may differ on in opinion. It is also an area that is largely determined by where you are in the world. For instance in Montana some small game options are raccoon, red fox, badgers, hares, marmots, and tree squirrels. In Georgia the small game options would be beaver, bobcats, raccoons, eastern squirrels and muskrats to name a few.
It is of course possible to trap larger game all the way up to bears etc. Though the smaller animals tend to be better targets on a trap route. If using multiple traps then you are likely to catch several on a trip around your route and you want to make sure that you can carry them all back.
You should also consider targeting only species that you are interested in for your purpose. If you plan on eating your catch then you may not want to target bobcats or coyotes. Oftentimes this can be done by choosing an appropriate bait.
How do I get Started in Trapping
The best way to get started in trapping is to learn the various types of traps. The most common types are Foothold, Conibear, Box of Cubby, Deadfall and Snare. Each of these has their own characteristics including pros and cons. They also work best in slightly different setups. We will discuss these later on.
The next step is to determine which of these types would be best for the particular animal you are after. I will include some tips for this step during the discussion of each trap type.
The third step is to learn how each trap is placed. Traps can be placed in tunnels, holes, flat areas, trees, along trails and even in the water. Which placement type is right depends on your needs and goals.
Snares – An Ancient Hunter Gather Technique
Probably the first type of trap that comes to mind when survivalists discuss trapping food. The snare is one of the simplest traps and consists of a small loop or noose intended to catch and trap an animal by the body or neck. These snares can be made from either wire or string and are anchored to something.
Anchoring snares can be done by either tying them to the base of a tree, up in a tree or to a large moveable object such as a log. Though it is important to point out that in some areas dragging anchors are prohibited.
Snares are still legal in many parts of the US, Canada as well as in parts of Europe and Africa. Many of these locations have begun putting restrictions on the use of snares. Some of these restrictions require special stops which prevent the snare from closing all the way. These stops are frequently known as ‘deer stops’.
The main advantage to using snares is that they are lightweight and you can carry many of them with little effort. This allows you to set up an extensive chain and quickly multiply your chances of successfully catching something. They are also effective for animals up to the size of deer if you choose.
Downsides to keep in mind is that they can damage the fur of the animal if you are after the hide. They are indiscriminate and due to the damage caused it prevents the release of non-target animals. It is also necessary to get near perfect placement to ensure they work.
Deadfall Trap – Available Entirely in the Wild
A deadfall trap consists of a large flat rock that weighs at least five times that of your target animal. It is generally propped up by a small stick rigged in a figure 4 shape. This results in the top point of the 4 supporting the edge of the stone while the backward leg serves as a trigger. When the trigger is disturbed the stick pops out and the rock falls on the intended target crushing it.
It is important to note that deadfall traps should be reserved for survival situations as they are now illegal in many areas. However, nearly every location has an exception when the act is done to preserve human life.
Learning how to rig the trigger mechanism for a deadfall trap is perhaps one of the best things you can learn for a survival situation as it does not require any pre-planning or supplies. Master this and you are well on your way to learning how to trap animals for food.
Conibear Traps – Originally Intended to be More Humane
The Conibear trap was invented by Frank Conibear in the 1950s. They are intended to kill the animal upon activation so that the animal did not suffer and were meant to be more humane in this aspect. Many trappers consider these traps to be one of the best trapping inventions of the 20th century.
When using conibear traps it is important to select the correct size for the intended target animal. This is due to the way they grip the body and their intended purpose of killing the animal on contact. By selecting the appropriate size the likelihood of this instant death goes up significantly, while an inappropriate size may not kill the animal and cause it to suffer for some time.
The conibear traps are normally deployed in water, tunnel and trail sets. Their main advantage is that animals of the appropriate size rarely escape and are frequently killed instantly.
The disadvantages to this style of trap is that you are often unable to release the non-target animals due to injury or death. There is also the possibility of catching domestic animals such as dogs and cats in the device as well.

You can use the above conibear trap size chart to select the best trap for your targeted animal. Keep in mind that conibear trap sizes vary by jaw spread.
Keep in mind as always to consult your local laws, some information that I found indicates the larger Conibear Traps may be illegal in most of the US, though you can still use the 110 size for small game and rodents.
Foothold Traps – Originally Used as Mancatchers
Foothold Traps originated in the 1600s and were meant to keep people out of certain areas. They were known as Mantraps during that time. These resemble the large bear traps you may have seen on tv shows and movies.
Recent law changes have prohibited the use of foothold traps that contain serrated teeth in an attempt to avoid injuring the animals. Which has led to an increased chance that a non-targeted species can be released safely.
When selecting Foothold Traps it is important to choose the right size to help minimize injury to the animal, also the larger foothold traps may be illegal in some areas. Recent advances have also led to the development of padded versions, and while these are not completely safe they do lessen the chance of injury.
Foothold traps are best deployed by a dirt hole with bait, flat and around a scent post.
The main advantages here is that in many cases the trapped animals are not seriously harmed, most of the time the non-target animals can be released. They can be used on land or in water, do not damage the pelt or meat and are easy to conceal.
The disadvantages stem from the need to choose the correct size and recent regulations on which size is allowed on land. ALso keep in mind that these traps should be checked frequently since they do not kill the animal, there have been occasions where the animals have chewed their own leg off in an attempt to escape. The foothold traps also do not discriminate and could catch pets as well if not careful.
Box or Cubby Traps – Considered the Most Humane
The box or cubby traps are generally used around homes and inside of structures to catch pest animals. These animals include squirrels, chipmunks and raccoons among others.
The main advantage to a box trap is that it rarely causes physical injury to the animal. Frequently they can be released or disposed of in a humane manner if that is your choice. Since they do not cause injury they are safe to use around populated areas. Since the chance of encountering pets is high.
The disadvantages to the cubby traps is they tend to be much more expensive than other traps. They are bulky and can be difficult to transport. Skittish animals such as coyote and fox will likely avoid them. Their size makes them a less than favorable choice for trapping a food source. This is due to tending to have better odds there the more traps you set.
Check your local regulations. It seems that for the most part these traps tend to have the least amount of restrictions. In some areas they are the only approved method of trapping nuisance animals.
Trapping Resources
Many of your trapping questions can be answered through the National Trappers Association. You can also check out the potential profits of specific furs if you choose to target animals you can both eat and profit from the furs.
Now that you have finished this article on how to trap animals, perhaps you would be interested in other articles. Perhaps catching crawfish or fish traps is more to your tastes, both of these also make great survival food choices.
