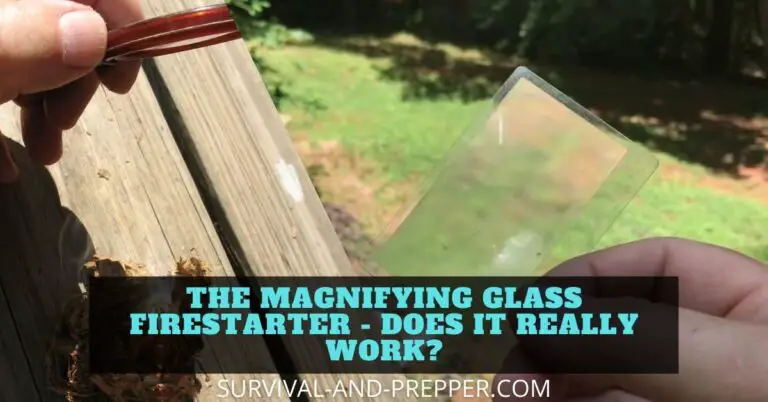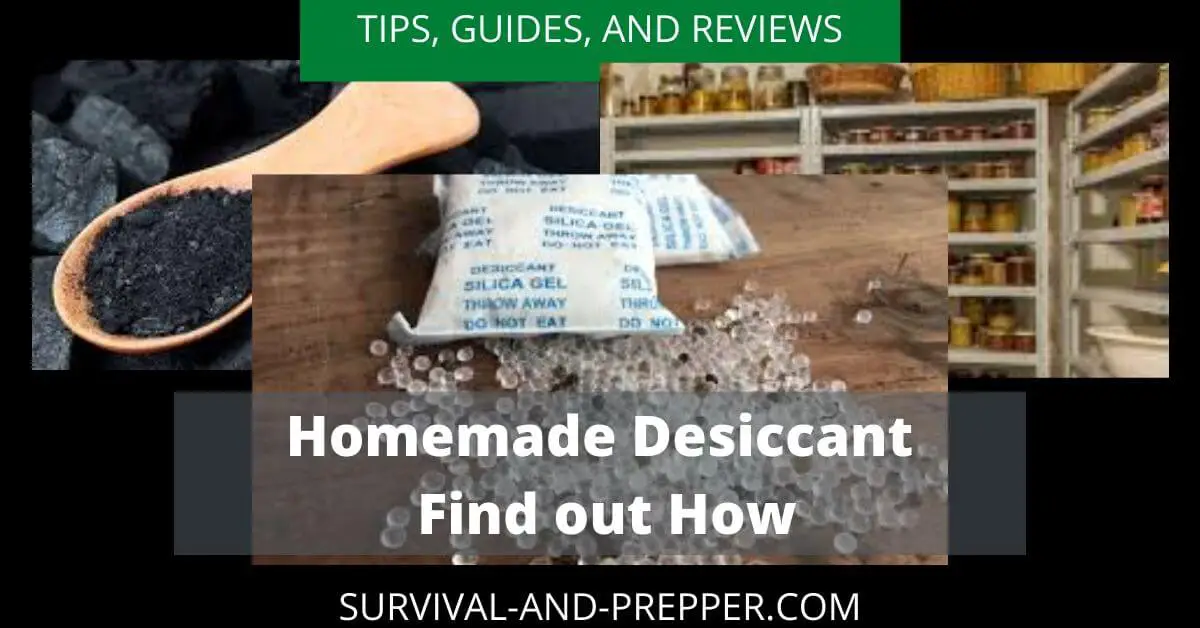
Your Long Term Food Stores Can Be Prolonged with a Homemade Desiccant
As described in our article Four Ways Your Food Stores Could Become Contaminated moisture is a very real danger to your long term food stores. In addition moisture is a potential danger in every storage space for more items than just food. Due to these very real concerns you should take steps to prevent this moisture induced damage. One of the steps you can take involves using a desiccant. We are going to discuss ways that you can make a homemade desiccant. But first lets talk about what a desiccant is.
What is a Desiccant
A Desiccant is a substance that absorbs water and induces dryness in the area around it. Some of the most common desiccants encountered in everyday life are the small silica packets, other common ones include activated charcoal, calcium sulfate, calcium chloride.
If used appropriately all four of these substances are safe to be used around food. Generally however, you do not want to ingest them directly. Since they are safe to be used around food they make excellent options for minimizing the moisture content of your long term food stores.
Silica Gel Packs are most commonly used, these are the small packets you find in things like beef jerky, snacks and MRE meals.
Activated Charcoal is used in packet form for food, pharmaceutical and chemical storage. It can also be used to safeguard electrical components, furniture and communication equipment.
Calcium Sulfate is frequently used as a calcium supplement in several foods including enriched flours and tofu. It is also the main chemical in Gypsum which is used to make sheetrock and is found in the majority of houses throughout the US.
Calcium Chloride is used to keep many foods including beans and fruits firm. If ingested in large amounts it can cause burning but is generally considered safe as a food additive. This makes it safe to use in packets as a desiccant for food.
Why Should I Use a Desiccant?
As mentioned in my other article excessive moisture can lead to the growth of bacteria and mold resulting in spoilage of your food. In addition to spoilage of food some materials such as cloth and metal can begin to degrade and are exposed to excessive moisture. By using a desiccant this moisture is absorbed before it has a chance to cause damage.
One of the things that are frequently stored by preppers in large quantities is dried grains. This is due to the fact that they are an excellent food source. Their cheap to purchase and if stored in the proper conditions can last for thirty years or more.
However, moisture can drastically reduce this shelf-life. Before you store dried materials you should determine the moisture content of that food item. Higher moisture content in your foods will promote the growth or bacteria, mold and insects. You can prevent this by adding a desiccant to your airtight containers. This will remove the moisture and prevent the foods from going bad, it will also reduce the chance of fungi growth.
Where do I get Desiccants From?
Most businesses, preppers and survivalists will choose to purchase their desiccants in packet form. These are not expensive and can be found at almost any general store. Additionally you can order them online. Here are some links for your convenience Silica Packets, Activated Charcoal, Calcium Sulfate, Calcium Chloride (Amazon Affiliate Links)
Despite the fact that most people purchase their desiccants as a prepper or survivalists you likely want to be able to reduce your dependency on store bought products. This need to reduce our dependence on store bought products has become even more apparent in light of recent events.
That being said I have gathered a few methods that you can learn to create a homemade desiccant. This homemade desiccant should allow us to continue preserving foods and get by even if the stores are no longer open. All of these methods are easy to make yourself in the comfort of your home. Read on to learn more about these methods.
3 Methods for Making Your Homemade Desiccant
We are going to cover three different methods that you can use to make a simple homemade desiccant. By the nature of the beast it does require some materials. However, they are likely materials you already have around your house/homestead.
#1 Homemade Desiccant Using Kitty Litter
This one seems a bit strange, I will admit. However, even if you don’t like cats there may be a reason you should be storing kitty litter. You can check out this article I found on 9 Reasons To Stockpile Kitty Litter for some ideas.
While I would not use this method for food it would work quite well for other uses where moisture control is desirable. Some examples might be ammo storage, weapons rooms, tool storage or even in basements.It is also an excellent way to keep rodents away from your food as they do not like the smell of kitty litter.
Steps
It is preferred that you use silica gel cat litter. These can usually be identified by reading the package and looking for the words silica gel or drying.
The next item you will need are a few small cloth bags. These can be hand sewn from whatever fabric you have available including things such as old clothes or towels. The tighter the weave of the fabric the better it will work, you want the moisture to get into the bag but none of the litter to get out.
You then place a teaspoon or two of litter into one of the clean fabric bags and tie or sew up the opening as tight as possible. You want to make sure that no gel can get out.
This is all you need to do, and it’s pretty much straightforward. I recommend using unscented kitty litter to minimize the possibility of unwanted chemicals. From my standpoint, like I said before I would mainly use this to store in ammo cans, safes and basement areas to keep down on moisture.
However, you should also be safe to use them with foods such as rice, beans and other grains that are stored in five gallon buckets. You could set a small dish or lid inside and then place these packets on that to keep them separated from the food if you chose to.
#2 – Homemade Desiccant Using Gypsum – Sheetrock
When I was doing my research and saw this method mentioned it concerned me a bit. My first thought when I saw mention of putting sheetrock in my food was horror. However, I took the time to look it up and found some interesting information.
The first being the CDC website. They do not list any protective equipment and no steps on how to treat if you ingest Calcium Sulfate / Gypsum. They indicate the main concern is mild irritation from inhaling it in dust forms but no other major issues.
The FDA indicates “This substance is generally recognized as safe when used in accordance with good manufacturing or feeding practice.”
Finally Gypsum.org indicates that Gypsum is frequently used as a “dietary source of calcium, to condition water used in brewing beer, to control the tartness and clarity of wine, and as an ingredient in canned vegetables, flour, white bread, ice cream, blue cheese, and other foods.”
These information contained on these three sites leave me confident that using Gypsum as a desiccant is safe, after all I don’t plan to eat it, only to use it to store food.
Steps
For this method you need to locate some drywall, preferably this is drywall that you have recently purchased or maybe even obtained as scraps from a construction site. This way the drywall is as clean as possible. However, in a SHTF situation it would be acceptable to use old drywall from your walls if you are remodeling as long as it does not show any signs of contamination.
Most drywall is wrapped on both sides by paper, and you will be removing this paper anyway. Make sure it doesn’t show signs of mold or previous water damage.
The next step is to remove the paper from the drywall. This can be done by peeling the paper off. This step is much easier if you wet the paper with a damp rag first, it should then peel off fairly easily.
With the paper removed you should be left with a piece of white gypsum. It will look almost rock like and should crumble if pinched very hard. Break it into small ½ to 1 inch pieces and place them on an oven tray.
Dry The Gypsum
Set your oven to preheat up to 450F and heat the gypsum pieces for about an hour. You want to make sure that these are in a single layer, two at most.
After the hour has passed, remove them from the oven. While still hot, quickly place them in a durable airtight container that will not melt. Metal cans with airtight lids or large mason jars work great for this. If not stored in an airtight container the anhydrite in the gypsum can begin drawing moisture from the air around it quite rapidly.
You can then make small bags about 1”x1”. When ready to use drop one or two small pieces into the bag. Seal it up by either tying it shut or sewing it closed. Then you place it into your airtight container with the food you are preparing for storage.
#3 – Make Activated Charcoal From Scratch
Initially when I came to this step I was going to list the steps on making activated charcoal from scratch. However, I found an article that goes into much better detail than I could. So I am going to only list the basic steps and then provide you with a link to the more detailed guide at the bottom of this section.
Making Charcoal
To make the activated charcoal you will first need to burn wood to make charcoal. (Don’t purchase normal charcoal for this as it frequently has unwanted additional chemicals added to help it burn.)
To make your own charcoal get a large pot with a loose lid, place the hardwoods such as oak or maple in the pot and put the lid on. Place this pot over your fire and build the flames up till they are licking the pot, you need temperatures or around 600 to 800 degrees for about six hours. The loose lid will allow the smoke and gases to escape but prevent oxygen from reaching your charcoal material and catching fire.
Remove the charcoal from the heat, ensure it is burned through and then rinse it with water. Allow the charcoal to thoroughly dry and then pulverize it into a fine powder. You can use a food processor for this but it should be done outside due to the dust getting everywhere. Once it is ground up, sift it through a screen or filter to remove the large chunks.
Activating The Charcoal
At this point it is time to activate the charcoal, this can be done by adding calcium chloride, zinc chloride or lemon juice to the charcoal. For ease we are going to use the very common lemon juice option here.
Place half a cup of lemon juice and the charcoal in a pan, then allow that to sit covered for at least 24 hours. After that the charcoal will need to be rinsed three times.
This is best done using a coffee filter and a strainer. Simply rinse the charcoal and repeat the three times using distilled water if possible.
Steps
You can then dry the remaining charcoal substance in the oven. Store it in a mason jar after that for later use.
In order to use this activated charcoal you will add it to a cloth bag similar to the other options. However, since it is a fairly fine powder I would place it on a plate at the top of the container. This is in order to minimize contact with the food. Ingestion is safe in small amounts and activated charcoal is frequently used to treat poisoning.
How to Make Activated Charcoal
Another Possible Option
Sometimes you just don’t want to start from scratch. You may be wondering if you can use the old desiccant packets you have lying around. It is possible to “regenerate” these packets.
If you stockpile a lot of items then you likely have these laying around. When I get items such as beef jerky that contain them I always just toss them into a large mason jar on the kitchen counter. These make prime candidates for regeneration.
In order to regenerate these old packets you need to reheat the gel to an appropriate temperature for a certain amount of time. If not done properly the silica gel could chemically change its composition and lose its absorbent properties.
Based on the information that I found the ideal temperature is 250 degrees Fahrenheit for about 4 hours. This varies slightly depending on the oven you are using with an electrical oven being the better option. A gas oven produces some moisture and requires about 5 hours to complete the process.
When you remove the regenerated packets from the oven, quickly place them inside of an airtight container while they are still hot. This will prevent them from absorbing any moisture and keep them ready for your next project.
How to use your homemade desiccant
It’s time to use your newly made desiccant, what are your options?
Here are a few examples, most of these are useful for your prepping plans:
- Use them when you store ammo, or in your Gun safe to prevent rust and powder issues.
- A survival cache placed in a remote location could benefit from one or two packets of homemade desiccant to prevent moisture damage.
- If you are sealing any electronics or communications equipment in mylar bags then add a packet of desiccant to prevent water damage.
- You can use them in your toolbox to prevent moisture
- In a safe where you store documents or important items to prevent moisture issues
- Inside plastic buckets with grains or inside boxes with seed packets
Knowing When Not To Use Desiccants Is Just As Important
It is important to know when you should not use a moisture absorber as well. Some foods especially those that are fine powders may not do well without moisture. For example sugars, flour and salt should not generally have a desiccant. This is especially true if their moisture content is below 10%.
This is due largely to the fact that they need some moisture. Without it they will harden into a nearly unusable brick. It is almost impossible to reconstitute these substances. Most often this can be seen when brown sugar begins to dry out as it needs slightly more moisture.
Conclusion
While some people may argue that you could buy desiccants (Amazon Link) from stores, why not learn how to make your own? As a Prepper you should always be prepared to make do with what you can use from your home or scavenge from a nearby area.
By always improving your survival knowledge, you should be able to figure out ways to be self-sufficient. Even when it seems nearly impossible to do so. Making a homemade desiccant is one example of this and is a relatively simple task. This may help you keep your stuff dry when commercial products aren’t available anymore. Allowing you to extend the shelf-life of your stockpile.
Thanks for checking out our article. While you’re here sign up for our newsletter to make sure you receive the latest articles.