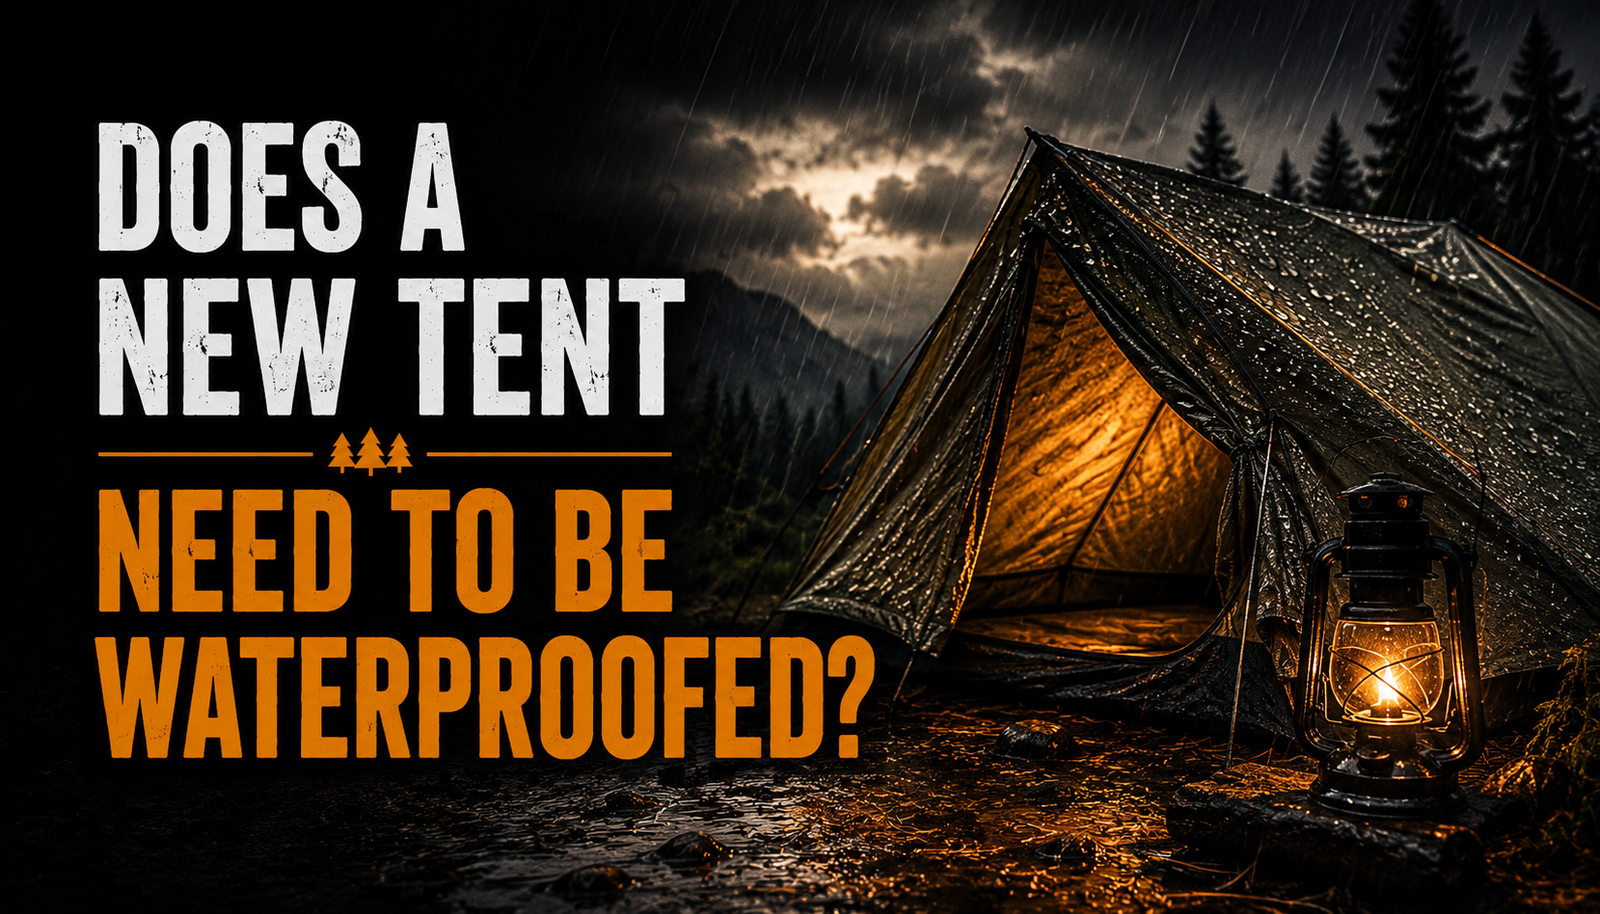
Does a New Tent Need to Be Waterproofed
When preparing your camping gear it is a good idea to waterproof your tent. Even though many tents are manufactured from a water resistant material they can still leak in heavy rain or when touched if wet. By applying waterproofing techniques to your new tent you can increase its effectiveness in all weather conditions.
Now that you know you might want to waterproof your new tent, read on to find out what waterproofing is, why you should follow these steps and even a simple guide on how to successfully waterproof your tent.
Why Should You Waterproof Your Tent
For some people, the first thing they think of when they think of outdoor gear is a tent.
This is because a tent is one of the most important pieces of outdoor gear for many people. This stems from their need to meet the requirements of survival.
According to an article posted on Inc. Three things are needed for survival; food, water and shelter.
A tent can meet this need for shelter in many instances. The use of a tent gives people the ability and opportunity to camp in any weather for any length of time.
A tent also provides shelter from bugs, weather, and anything else that may be lurking out there.
However, a tent cannot perform this task if it leaks, or fails to keep out unwanted weather conditions. Things such as extreme cold or rain can ruin a camping trip in a hurry.
A leaking tent can quickly turn what might be a tolerable rain into a miserable experience. However, it is not that difficult to waterproof your tent by following a few simple steps.
A few years ago I was using a Coleman 8 Person Tent at a beach campsite in Savannah Ga. Of the 5 days we were there it rained almost constantly for 4 days. At no point did our tent, which I had waterproofed prior to the trip, leak.
It was not until the fifth day when the ground had become so saturated with water that it was pooling around our tent that we decided we were done with the rain and went home.
With that in mind, I know from experience that waterproofing your tent works. You can accomplish this by performing a few simple tasks when you purchase a new tent. Let’s get into some of them!
What Is Waterproofing a Tent
I think it’s important to note that there is a wide variety of waterproofing solutions for tents.
For example, some tents come with a waterproof coating.
You can also use a waterproof spray to treat the inside and outside of the tent. Regardless of the type of treatment, it’s definitely worth noting that all waterproofing solutions should be used in good conditions and then left to dry.
Some of the main options for water proofing or improving your tents weather resistance include;
- Spray on water repellant
- Drip Covers
- Tent Mats
- Tarps
Most people begin waterproofing their tent, by using a spray on water repellant such as Camp Kiwi Dry.
These spray-on waterproofing options are normally sold in an aerosol can and can be sprayed on your tent prior to the camping trip or even on site and then allowed to dry.
Aerosol tent waterproofing works by coating the fibers of the tent fabric with a water repellent coating that makes it more difficult for water molecules to fit between the fibers.
Tent Drip Covers are a lightweight piece of fabric often specific to your tent model that cover areas prone to leaking such as windows, corners and door entry ways. These covers provide a bit more protection from falling rain by shedding it away from these leak prone areas.
Tent mats are sometimes called footprints and can either be made specifically to fit your tent, or a general size just larger than your tent in which you roll up the edges once your tent is on top.
This creates a secondary barrier between your tent and the ground. This barrier inturn reduces the chance that water will seep up into your tent from the ground.
Tarps are probably the most common secondary water proofing material you are likely to encounter. Tarps range in sizes from small to very large and can often be used as tent mats, tent drip covers and even canopies which completely cover your tent. In a pinch tarps can even be used as a tent themselves.
Tarps can be made from a variety of materials including PVC, Oilcloth, and vinyl. Each of these have unique characteristics.
Using some of these methods to waterproof your tent trunk, poles, and fly can provide you with a higher level of protection when it comes to the elements. The waterproofing of your tent will allow you to have peace of mind in regards to protecting your family in the event of an extreme weather condition.
Should I Waterproof a New Tent
Due to their design and manufacturing process along with the need for them to be lightweight, most tents are not waterproof per se. They are often just water resistant. This means that if exposed to enough water they will leak in most cases, this is why waterproof coatings are applied to tents.
Most tents come with a waterproof coating already applied. However, inconsistencies in manufacturing can leave spots uncoated. Applying a waterproofing spray prior to the first use will ensure these are covered, potentially avoiding a wet and soggy night. Additionally many sprays provide UV protection as well aiding in prolonging the life of your tent.
If you’re looking for a product to use on your new tent, you’ll want to choose one that is safe for the material that the tent is made of.
Most of the time your tent will contain a tag which tells you if a silicone or urethane is the primary sealer in your tent. Also consider if your tent is made from nylon, canvas or some other material and make sure that the product you buy is safe for that material.
Most of the more common and budget friendly tents on the market are made from polyester which by itself is not waterproof. Lightweight and smaller backpacking tents are often made from nylon which also needs a coating in order to be waterproof.
The largest and more permanent tents are often made of cotton canvas. This material tends to be very heavy and stiff but due to the cotton fibers swelling when exposed to water tends to be almost completely waterproof only needing minimal treatment along seams.
How Do You Waterproof a Tent with Waterproof Tent Sealant Spray
Waterproofing a tent involves selecting an appropriate sealing for your tent material. Once that is done you can follow the next few steps to complete the waterproofing of your tent process.
8 Steps to waterproof your tent with a chemical sealant.
- Select a level place to set up your tent.
- Assemble your tent and ensure that it is clean and dry.
- Inspect the tent for any rips, tears or separating at the seams.
- Begin applying your sealant starting with the seams.
- Coat the areas of the tent between the seams.
- Coat the rain flys and cover.
- Apply a second coat in 4 to 6 hours using the same pattern.
- Allow the tent to dry for 24 to 48 hours depending on the product applied.
Select a level place to set up your tent
In order to waterproof you tent you are going to need to set it up. It is best if you have enough room to properly set up the tent in the same manner that you would when camping.
Doing so will ensure that you waterproof the areas of the tent most likely to come in contact with the rain.
When selecting your area, make sure to pick a location that is flat and allows enough room for you to walk around the outside of your tent, also ensure that you are doing this outside.
Even though some smaller tents can fit inside of a residence or business the waterproofing sealants can smell quite foul.
Assemble your tent and ensure that it is clean and dry.
Assemble your main tent at this time complete with the ropes that secure it in place. This is important as it will show where the stress points are on the fabric as these areas need extra attention, it will also show any areas that are likely to sag and pool with water.
Once assembled you want to make sure that your tent is completely dry, and that there is no dirt or other debris on the tent. When you apply the tent sealant any dirt or trash on the tent will likely become stuck in the waterproofing and could either damage the tent or prevent the coating from applying correctly.
During this I suggest that if your tent has a rain fly or canopy top that is removable that you hang it up separately so that you can treat the areas normally covered by it.
I find the edge of a porch or a clothes line to be excellent for this purpose.
Inspect the tent for any rips, tears or separating at the seams.
Now that you have your tent assembled and cleaned you want to inspect it for any damage. Pay close attention to those areas under stress, as these are often the first places to tear.
If you happen to find any damage to the tent now is the time to repair it. Depending on the damage a tent repair kit or even fabric tape may be sufficient to make the repair.
Repairing the damage now is your best bet so that any repairs you make will also be coated with the tent sealant, waterproofing against future leaks.
Begin applying your sealant starting with the seams.
A quick tip, some people will advise that you seal both the inside and outside of the tent, however, I have not found this to be necessary. It does not rain inside of the tent after all.
By applying the sealant to only the exterior I get the benefit of the waterproofing features without having to worry about contacting the surface inside of the tent.
Once you begin applying your sealant, focus heavily on the seams and around the zipper areas. When a tent is manufactured needles punch holes in this material in order to stitch the threads in place.
Obviously this creates tiny holes in which leaks may form. Tent manufacturers often combat this by stitching tape into the seams, however, despite that the seams still tend to be an area in which a majority of leaks begin.
Some of these seams will consist of a flat seam and can just be sprayed, however, if it is one of the seams that sticks on out from the material then make sure you spray both sides of the flap.
Coat the areas of the tent between the seams.
Once you have finished with the seams move onto the larger flat areas of the tent. I find that these rarely leak in the same manner as a seam does. This is largely due to the more intact nature of the fabric coupled with the slope of the tent walls and the relatively smooth surfaces.
Often it may seem as if these areas are leaking, but most of the time this is from dew settling on the outside of the tent and then transferring through the material when it is touched.
Much of this dew transfer can be avoided though by waterproofing your tent.
When you begin spraying these areas I find it is easier to work from the top of the tent down, this allows the overspray to be blended into a more uniform application better than bottom to top would.
Coat the rain flys and cover.
When you begin coating the rainfly and tent cover you will likely notice that these two parts are often coated with a rubbery substance on their undersides. This material is similar to a rain jacket and does a decent job of preventing water from penetrating.
However, it also blocks air flow and that is the main reason the entire tent is not coated in this material.
Despite this rubbery coating I suggest that you apply a tent sealant to these areas as well as it will help provide UV protection to the tent and prolong the life of your fabric. For these parts, make sure the application is to the side exposed to the rain and sun for best effect.
Apply a second coat in 4 to 6 hours using the same pattern.
Most of the products you will find on the market recommend at least two coats, with some suggesting as many as four coats. If that is the case, then plan on about a four to six hour spread between coats to allow time for the waterproofing sealant to soak into the fabric and begin drying.
Allow the tent to dry for 24 to 48 hours depending on the product applied.
One thing that you never want to do with a tent is store it in a wet or damp condition. Storing the tent while it contains any moisture will likely result in mold and mildew build up on the fabrics and degradation of the tent.
The same applies in regards to the waterproofing material you have just applied to your tent. Plan on allowing at least 24 hours possibly up to 48 hours depending on the chemical used and its recommended application process.
I also prefer to wait a few hours after sunrise to pack up my tent, that way I can ensure that any dew or morning moisture have evaporated off of the tent as well.
How Often Should You Waterproof Your Tent
How often you should waterproof your tent is going to depend largely on your usage. But for the average family applying a fresh coating at the beginning of the season, or once per year is more than sufficient. You can probably get away with skipping a year between applications with no leaking problems.
Keep in mind that depending on the waterproofing product some of the coatings may give off an unpleasant smell until they have dried completely and that they can take extended times to dry.
This might mean you want to set aside some time before your first camping trip to set the tent up in your backyard and coat it, then allow it to dry for a day or two before repacking the tent.
Conclusion
We learned some pretty valuable information about how to waterproof a tent. Using that information you can both protect yourself from the elements and prolong the life of your new tent. With a bit of care it will last you for years to come.


One Comment
Comments are closed.