Simple Guide to Successfully Canning Fresh Green Beans
Having grown up in the south and spent many summers with my grandparents I was exposed to canning operations from an early age. The first thing I remember canning was pickles, with the second thing and probably one of my favorites being green beans. Since I started prepping I revisited these skills.
Anyway enough of that, since canning green beans is why you are here, lets jump right into the recipe and a few tips to help you along the way.
Materials and Ingredients You Will Need
- Pressure Canner with pressure gauge
- Pint or Quart sized jars and rings with new lids
- Canning Salt
- Green Beans – 2lbs per quart or 1lb per pint
- Water
- Sharpie Marker
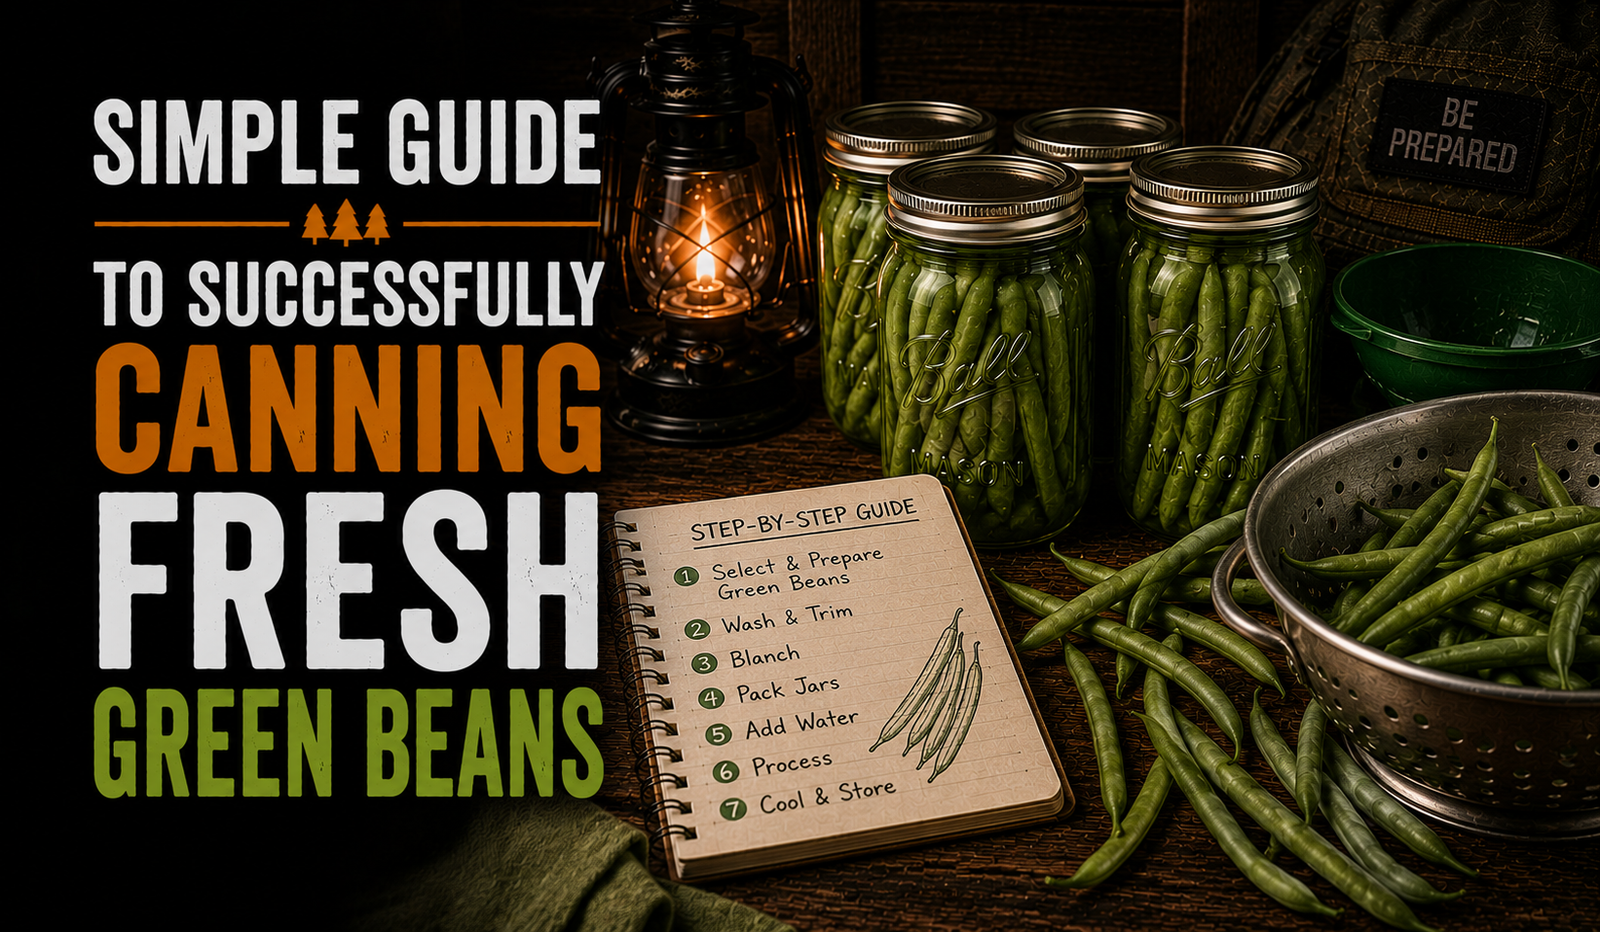
Directions to Successfully Canning Green Beans
- Prepare your Supplies
- Rinse the beans and trim them
- Boil beans for five to seven minutes
- Fill the jars with heated beans and add salt
- Seal and place the jars in the pressure canner
- Seal canner and heat to 10lbs
- Leave Pint jars in the canner for 15 minutes, Quarts for 20
- Remove jars and allow to cool
- Inspect and label jars with with date canned
- Store properly in a cool dark area
The Canning Steps Explained
Prepare your supplies – Ensure that your canner is clean and filled with at least three inches of water. If you prefer you can go ahead and begin heating this water somewhat, but not to boiling yet. Sterilize your jars by heating them in simmering water until you are ready to fill them. Was the lids with soap and warm water.
Rinse the beans and trim them – Rinse your beans several times in warm water to remove any dirt and debris that they may have picked up from the garden. Remove the string that runs along the edge of them and then trim the ends off. The ends tend to be tough and can change the consistency of your finished green beans. Now you can either choose to leave the green beans long or to cut them in 1 ½ inch pieces. For the cooked green beans in this recipe I prefer to cut them down to bite sized pieces.
Boil the beans for five or six minutes – Once cut, heat them to boiling and allow to boil for around 5 minutes for firmer beans or 7 minutes for softer beans. Ensure that you have sufficient extra boiling water to top off the jars when filling them with beans in the next step.
Fill the jars – Carefully remove the jars that you have been simmering from the water. At this point add ½ teaspoon canning salt to pint jars and 1 teaspoon canning salt to quart jars. Loosely fill the jars with heated green beans. Remember to leave about an inch of headspace to allow for proper sealing. Ensure that the water level reaches this point as well.
Seal the Jars and place in canner – Carefully place the lids on the jars followed by the rings. Tighten the rings down until they are snug, but do not force them. Using a canning rack or jar lifter lower your filled jars into the pressure canner.
Seal the canner and heat to 10lbs – Secure the lid on your canner in accordance with its design. However before you close the vent valve or petcock heat, turn the heat up to its highest setting and allow it to heat for ten minutes. This forces any air inside the canner out. Once that step is done you can add your weighted regulator or close to petcock for the gauge. You want to reach an internal pressure of 10 lbs if using a weighted regulator or between 10 and 13lbs if using a gauge.
Leave the jars in the canner – Different sized jars require slightly different canning times, for pint sized jars you want to leave them in the canner for about 15 minutes while quart jars will need 20 minutes. If at any time your pressure drops below 10lbs then you will need to start the timer over. This time must be a continuous period for the safety of your food.
Remove the jars and allow to cool – Once sufficient time has passed remove the canner from the burner if using electric or turn off the flame on a gas stove. Allow the canner to slowly cool down and depressurize on its own. Part of the recommended process takes into account the time it takes your canner to depressurize as it cools. Opening the vents before the canner has depressurized could result in loss of the beans or even damage to the cooker. Once the canner has cooled sufficiently open the top and remove the jars. Remember to use a canning rack or jar lifter to do this safely. Allow the jars to cool at room temperature for twenty four hours.
Inspect and label the jars – After 24 hours remove the rings and make sure that the lids are properly sealed. The lids should remain securely in place even without the rings due to the vacuum created during the canning process. Once you are sure that they sealed correctly you can either replace the rings or leave them off. If you replace them only put them on until barely snug. Do not tighten them at all or you could break the seal. Label the lids with the date that you sealed them and if necessary any extra details such as spices etc.
Store properly – You should store your canned items in a cool area with a somewhat constant temperature and minimum exposure to light. Doing so will ensure they remain viable for as long as possible. Avoid areas prone to large temperature swings and direct light both of these conditions cause the food quality to deteriorate at a faster pace.
Additional Tips for Canning Green Beans
- The times provided here apply to tender beans. If the beans are larger and closer to splitting open then they are likely to need more time. In this case allow them to remain in the pressure canner at pressure for an additional 10 to 15 minutes.
- To ensure safe processing it is recommended that you process at least 2 quart or 4 pint jars at a time.
- Do not over tighten the lids prior to processing them in the canner. Doing so could result in the lids crumpling and bending due to building pressure in the jars being unable to escape.
- If desired the green beans can be cold packed instead of hot packed as described in this recipe. The only difference is that in step 1 you do not want to preheat the canner. Step 3 you will not boil the beans. Last in step 4 you will tightly pack the green beans and add the canning salt prior to topping off with water, leaving a 1 inch headspace. The rest of the steps remain the same, in this method the canning salt is crucial to aid in bacteria control.
- Leaving the rings off is the preferred method of storage as this will help you spot signs that the beans may have spoiled or that botulism is present. Though close inspection when the rings are removed can aid in this as well.
- Canning lids have a raised center. If they are properly processed and sealed this “button” will be recessed and will not make a popping noise, if it pops they are not safe to store.
- When properly canned the
Guide to Canning Equipment You Need
In Conclusion
As you can see the process of canning green beans is not overly difficult. With a little bit of patience and the right supplies you can preserve any extra harvest from your garden ensuring that you have green beans year round. Properly storing your excess green beans can be the start of ensuring your family has a supply of healthy vegetables on hand or as the beginnings of a preppers stockpile. You choose.
Another popular option is canning green beans in the form of pickled green beans. These are a different recipe and include the use of vinegar as a canning solution.