Learn How to Clean Collard Greens, How to Grow Them and Why
What is a Collard Green?
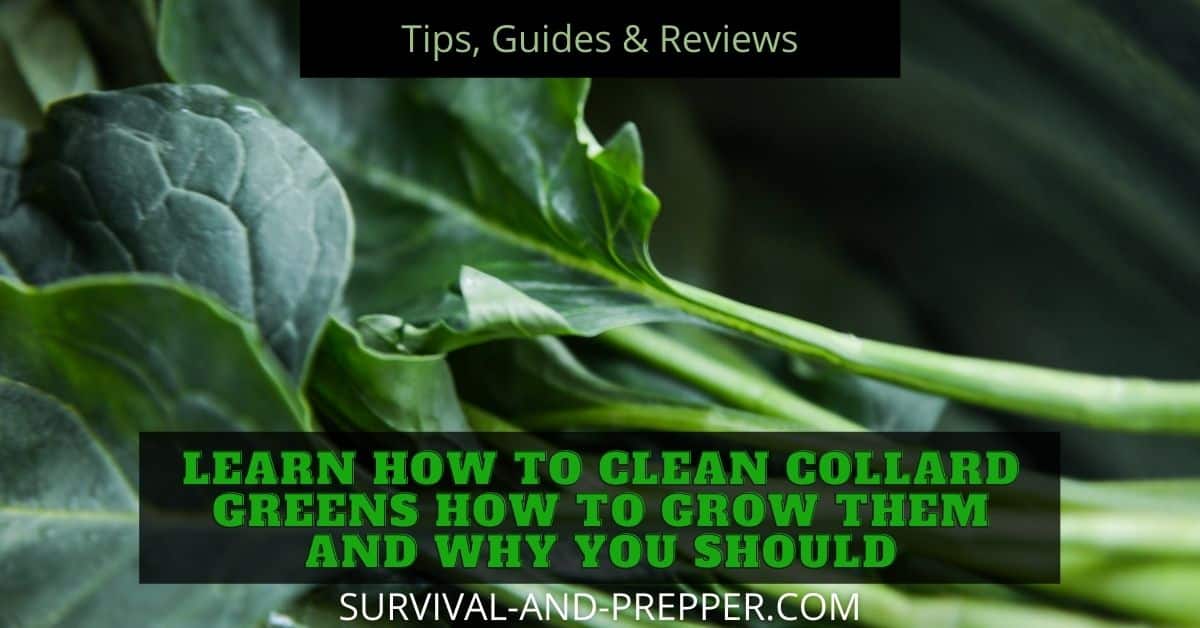
Collard Greens are large leafy members of the cabbage family known as Brassica Oleracea. What this means in layman’s terms is that they are similar in consistency to cabbage but grow larger dark green leaves.
Considered by some to be quite tasty, collard greens have long been a staple in southern cooking. This is due to their excellent taste, versatile use and easy growth needs. With a few simple steps you can easily grow your own greens. With proper care only a few plants can provide food all season.
In this short discussion we will cover how to grow collards, including how to prepare them to harvest seeds for future crops. We will also discuss how to clean collard greens and a few basic ways to prepare them for consumption.
Growing Collards on Your Own
Seeds
Obviously in order to grow collards the first thing you need to do is source some collard seeds. These can be obtained either by purchasing the seeds of obtaining them from another grower. There are numerous varieties of collards available, with each having different characteristics.
I tend to plant two varieties. The first is Georgia Southern Heirloom, which has shorter and somewhat thicker leaves. I prefer to use these in salads and in their raw form more. The other variety I normally seek out is the Vates variety. This seems to be the most common of the varieties in my area and tends to make excellent pot greens.
If you already have a crop of collards it is possible to harvest seeds from them as well for future crops. We will cover that in more detail a bit later.
Planting
Choose a patch of fertile soil and plant the seeds about half an inch deep around 8 to 10 weeks before the first frost. (The first frost occurs around the middle of November for most of central Georgia and Alabama.) Once the seeds are about a month old you will want to thin them out.
This thinning can be done by either moving the plans so that they are around 6 inches apart. If you don’t want to move the plants you can simply cull all of the ones that are within this space by just plucking the entire plant.
However, do not discard these culled plants. Remove their roots and they can be consumed in salads etc. See my article on Microgreens.
While I suggest planting collards later in the season they are a very durable plant and can survive and thrive in hot southern summers as well as well into the winter months.
Harvesting
This is where your renewable crops will differ slightly from larger commercial operations. If you use care to snap off the larger outside leaves, you can leave the center or “head” to continue to grow. By doing this you can continually harvest the larger outside leaves.
These larger leaves can then be stored in the refrigerator for 7 to 10 days without much difficulty.
It Is Possible to Grow Collards with Hydroponics as Well
This video shows a hydroponics set up for collard greens.
Preparing and Cleaning Collard Greens
Cleaning
Some people who have eaten collards had a negative experience and state that the collards seemed gritty to them. This is most likely because the collard greens were not properly cleaned prior to cooking or use in a salad.
To clean collard greens you simply rinse them in a pot of water at least four to five times, changing out the water between each rinse.
The very first step you should take once you get your collard greens from the garden is to wash and clean them. Head over to the sink and find the largest pot you have. Fill this with cool water and add the collards. (Normally you want them to remain whole during this, but if you were planning to chop them prior to cooking you could go ahead and do so.)
Swirl the collard greens around just a bit in the water and allow them to sit for a minute or so. Remove the collards placing them in a strainer and swap out the water for new clean water. Rinse the collards again and continue this process until you have rinsed them at least four or five times.
During these washes you will likely see small amounts of sand in the bottom of your pot between changing out the water. This is normal and is the reason they need to be washed. This sand comes from rain and watering splashing soil up onto the leaves while they grow. Due to the way their leaves grow in bunches collards tend to trap this sand on their leaves more so than some other plants.
Some people say that you can avoid the extra rinsing steps if you soak the leaves in salt water for 30 minutes. However, I prefer the above described steps to ensure there is no sand present.
Using in Salads
I tend to eat the majority of my collards along with several other greens as a mixed green salad. If this is my intention, I clean the leaves well and then slice them into horizontal portions that are about an inch and a half to 2 inches wide. They can then be stored in the refrigerator and tossed with other greens when ready.
Cooking
The other way I tend to eat collards is probably the more traditional way. A pot of boiling water of broth is heated and some form of meat is usually added. For my family it was always traditional to have collard greens on New Year’s Day. When we did so they were always prepared with ham added to the greens.
Once the water is boiling you can drop your collards into the boiling water. How long you cook them is up to your tastes. Keep in mind though that the longer they are cooked the softer they will become. This cooking time is generally from 45 minutes for stiffer chewy collards up to about 2 hours for soft flavorful collards.
Nutritional Benefits of Collard Greens
Collard greens contain an assortment of vitamins and minerals. Some of these include vitamins A, B-6, C, and K as well as iron, magnesium and calcium. Trace amounts of thiamin, niacin, pantothenic acid and choline can also be found.
This assortment of nutrients makes them an ideal supplement to a healthy diet and probably contributes to why they have been consumed by humans for thousands of years.
Additional Collard Green Tips
How to Harvest Seeds from Collards for Future Use
Collard greens as well as the other members of the cabbage family tend to only produce seeds every two years. Without proper preparation this can pose some difficulties since the plants may die off in harsh winters.
If your wintertime temperatures do not drop below 20 degrees fahrenheit then your plants can be left outside in your garden with minimal preparation. However, if your temperatures go below that then you will need to take steps to preserve the plants.
Winterize Your Collard Plants
One method would be to cover them with a temporary greenhouse structure and a heat source to ensure they remain above that temperature. However the more common method is to bring them in.
The process of bringing in your collards for the winter is known as Vernalization. You will first dig up the plants being careful not to damage the roots. Trim off the outer leaves allowing the growing point to remain on the head. You should then replant the head and root systems into pots filled with potting soil or sand for storage.
You want to avoid storing them in heated areas as the optimal temperature range for cabbage species is around 34 to 40 degrees fahrenheit. They also do best in 80 to 95% relative humidity if possible.
Once the soil has thawed in early spring you can return the plants to the garden. If you intend on harvesting seeds from them they should be planted at least 24 inches apart with 36 inches between the rows. This will allow room for them to grow and you to maneuver around them for harvests.
Collecting the Seeds
Once replanted you can continue to harvest the leaves at a slightly lower rate than in the previous year. You want to make sure that the plants can produce flowers and seed pods. (Some recommend that you do not harvest from the plants you intend to seed from for this reason.)
Once seed pods have formed, wait for them to become hard and kind of brittle. At that time you can harvest either individual branches or the entire plant. Be careful with the harvested material as the pods are very brittle and can break open easily.
With that in mind it is often advisable to place the harvested material on a drop cloth to ensure seeds are not lost. Once harvested you can remove the seeds from the pods by rubbing pods together or against any other material that will break them open.
Collect your seeds and store them in an airtight container. This container should be placed in a cool, dark and dry area. If properly stored in this manner the seeds should remain viable for at least six years. By storing the seeds in Mylar (Amazon Link Ad) along with a desiccant this time frame can be extended to beyond a decade if necessary.
Collard Green Recipes
Pretty much any simple google search for a collard green recipe will return dozens of recipes. This stems from their popularity in the south. However, as is the case with everything there has to be that one recipe that just outshines them all. For me it is these simple southern greens.
For this simple recipe you will need the following ingredients:
- 1 medium onion diced into small pieces
- 2 ham steaks or 2 packs of thick cut bacon
- 1 teaspoon of garlic powder
- About 8 cups of chicken broth
- 2 pounds of collard greens cleaned and hard stems removed
- 2 tablespoons white sugar
- ¼ cup apple cider vinegar
- salt, to taste
- black pepper, to taste
With your ingredients collected first cut the bacon or ham up into 1 inch squares and then combine it with the stock, onion, and garlic. Heat this to a boil and then allow it to simmer for about fifteen minutes.
Once the onions have begun to soften up add the collards, vinegar, sugar, salt and pepper to the mixture. You are going to allow this to simmer for at least an hour and a half.
At that point, serve it up with some black eyed peas and cornbread.
Collard Greens as a Prepping Option
Due to their hardiness collard greens make an excellent addition to your garden preps. Even though they are more common in the southern states they are capable of growing in nearly every region within the US.
Their tolerance to heat and cold makes them ideal in most climates and their high nutrition value means they are sure to be an asset in a off grid or long term survival situation.
These are all reasons why I feel you should consider adding collard greens to your seed stocks.
In Conclusion
Collard Greens are an excellent source of vitamins, easy to grow and easy to cook. By following the simple steps outlined here you should be well on your way to enjoying this delicious piece of southern history.
If gardening interests you check out some of my other garden related articles with a survival themed twist to them. Some of these include Getting Started in Hydroponics and 8 Tips to larger Healthier Cucumbers.
