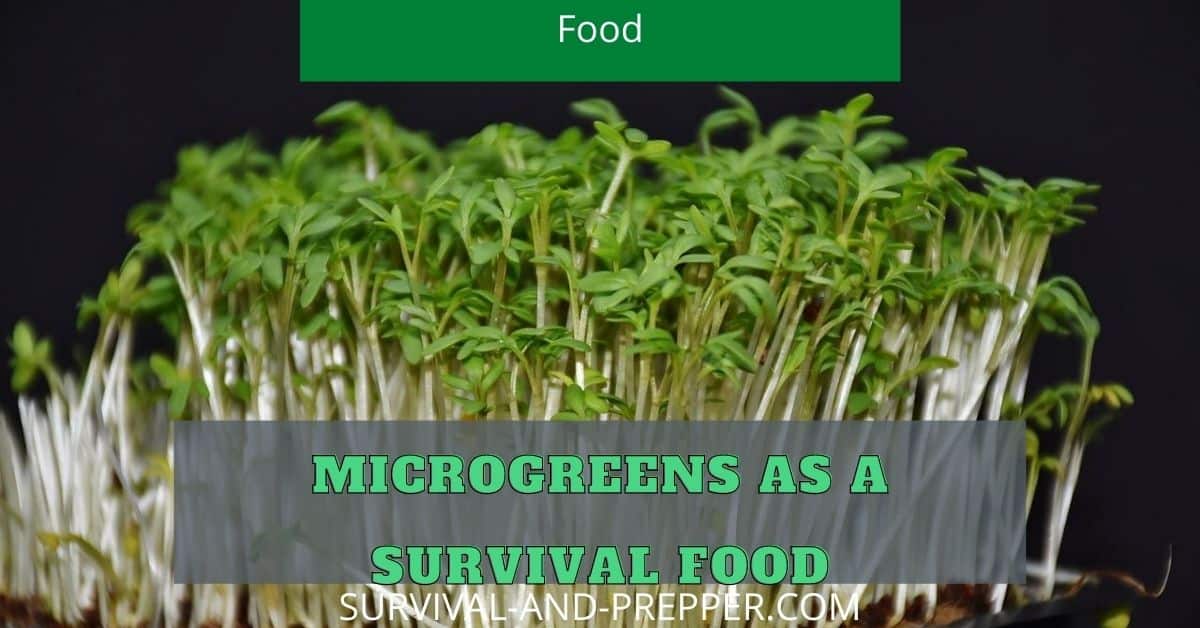
Microgreens as a Survival Food
Many people have at least a small amount of food to carry them through several days. Some have taken steps to take this food supply much further. Oftentimes a Prepper may have a year or more worth of food stored up. They frequently have seeds, canned goods and other dried products as well. Most of them even have plans on growing food if the incident, disaster or collapse of civilization causes the event to last longer than their food stores. They may not have planned for the time it takes to grow said food though. This is where Microgreens as a Survival Food comes into play.
Microgreens are a quick solution to getting fresh high vitamin vegetables to your table in a timely manner. These fast growing options have become popular with hipsters, chefs and home makers. They can be formed into salads or sprinkled on sandwiches and other foods. From a survival perspective they can be ready to eat in as little as three to five weeks.
The best part about Microgreens is that they are super easy to grow at home and can easily become a regular part of your lifestyle. If you incorporate them now, then when a survival situation arises and they are necessary they are already planted and growing. They can be grown and harvested year round indoors. So read on to discover how to grow them and what types there are.
What Exactly Are Microgreens?
Fast Growing Microgreens are almost a mix of a sprout and a vegetable such as baby leaf lettuce. There are some differences though.
Sprouts are grown in water with a hydroponics type set up, while microgreens are planted in soil. With sprouts you eat the roots and all. With Microgreens though you harvest them when the first two to four leaves appear. This is done by cutting them even with the soil and leaving the roots behind.
They are a little different from baby lettuce as well as they will not regrow on their own. This means that you can only harvest a batch one time. They must then be replanted. Baby Lettuce on the other hand can regrow as you are selecting only portions of the leaves.
The advantages with microgreens though comes from the plethora of taste variations you can achieve by selecting various plants. They are also packed to the brim with nutrition and are best eaten raw to maintain those vitamins.
Some common plants that make ideal microgreens include:
- Spicy Mustard
- Radish
- Sunflowers
- Sweet Pea Shoots
- Kale
- Arugula
- Broccoli
- Cabbage
- Carrot
- Celery
- Chives
- Collards
- Fenugreek
- Onion
- Sorrel
- Spinach
- Parsley
- Popcorn
- Bok Choy
How to Grow Microgreens Inside
Start with a shallow pot, container or tray that is at least two inches deep. Fill with potting soil or other top soil. In this case nutrients are not as important. This is due to the fact that the nutrients needed to reach harvest point are contained within the seed. While not the normal method it is possible to grow microgreens in sand or even hydroponically due to this.
Choose the microgreen you intend to grow and sprinkle the seeds liberally across the container. They need to be fairly dense. You then cover with a light layer of additional soil. Some people suggest that you sprinkle a bit of cinnamon over the soil to prevent the stems from rotting. Another option is to water every third time using a mix of hydrogen peroxide and water at a rate of two tablespoons peroxide to 1 quart of water.
After this, you need to make sure there is adequate light. They can be grown in a sunny window if you have adequate sunshine. Though it is probably best to supplement with light if possible. If the plants do not get sufficient light then they will grow very thin and long. This is not the desired outcome for these greens.
A trick to treat this is to use a fluorescent light hung about four to six inches above the growing tray. This will insure they get ample light and keep them from growing too tall.
What Type of Light is Best
I prefer to use four foot fluorescent lights with a full spectrum bulb in them. These are relatively inexpensive, and allow the microgreens to absorb the ideal light.
Remember to place this four to six inches above the plants. I prefer six inches above the soil as most often you will harvest the microgreens when they are around two inches tall. This keeps them in the proper range of the light without having to move it around.
Discover 4 ways your Stored Food Could Become Contaminated.
Watering Your Microgreens
When watering your microgreens you should keep the soil moist but not wet. Since Microgreens have a very shallow root system they require more frequent watering that other plants such as lettuce which have deeper roots.
While there are some slight differences among specific microgreen species most of them prefer higher humidity. You can accommodate this need by spraying them with a light mist on both the soil and new plants.
When is it Time to Harvest Your Microgreens
Microgreens are fast growing and can normally be harvested in three to four weeks. Once they germinate and sprout from the soil they will grow their seed leaves. About a week after that then the first real leaves or true leaves will appear. Once the first set of either two or four leaves have fully developed then your microgreens are ready to harvest.
Whether your plants have two or four leaves depends on what type of green you are growing. At this time, most microgreens will be around 1.5 to 2 inches tall with sunflowers, and various peas being closer to 3 inches.
It is Harvest Time, How is it Done?
Harvesting microgreens of any species is relatively easy. Simply take a pair of scissors and cut them off even with the soul. Keep in mind that you can only harvest them once so if you don’t need them all at one meal you might want to leave some in place.
Once you have harvested the entire bunch you can replant in that same container. The soil should remain viable for at least 3 to 5 plantings. After that you can dispose of the soil either in your outdoor garden or compost pile if you choose.
Another technique is to cut them about half an inch above the soil so that you avoid most of the debris and the need to wash them. This is up to you.
Learn Why You Should Consider Becoming a Prepper
How are Microgreens Eaten
Microgreens can be consumed on their own as a salad or used as a garnish to other foods. You can add them to sandwiches, smoothies, stir fries and even soups if you desire. They can also be blended into hummus, spinach dip or even used in place of normal herbs. It is quite common for microgreens to take on some of the flavor of their parent plants.
However, in a survival situation they would most likely be consumed as a salad type course or a garnish with some sort of fish or meat.
Cleaning Microgreens after Harvest
Once you have harvested your microgreens you want to wash them under cold water to remove any residual dirt. Drain them well and they are ready to eat as they are. If possible you want to avoid cooking them as this could reduce their nutritional content and in a survival situation you need all of nutrients possible.
Warning
It is important to note that you should avoid using larger bean pants such as the kidney bean. Some beans have toxic leaves that should not be consumed.
Microgreen Planting Tip for a Continuous Harvest
Since Microgreens mature in around four weeks you can set up four separate containers that are planted a week apart. This will ensure that you have a supply becoming ready each week. Once you consume one of the planters then immediately replant them to keep your fresh greens around at all times.
Make sure you have plenty of seeds on hand and that you are replacing the soil every fourth or fifth planting.
Finding Seeds to Grow Microgreens
Due to their recent popularity it is now relatively easy to find seeds for the various microgreens. Many online garden stores and even Amazon now sell seeds as individual species or groups of seeds that grow well together.
These packets of seeds tend to be larger and contain far more seeds than the packets commonly sold for garden use. This is due largely in part to the number of seeds required to produce a good sized microgreen crop vs the number of seeds needed for a normal garden.
Some species are selected specifically for how fast they grow. Abundance Kale for instance can be ready in as little as 10 to 14 days from the date they are planted.
As a side note lettuce is not normally grown as a microgreen because it tends to be easy to lose.
Added Bonus – Simple DIY Planters you can Grow Your Microgreens in
Here is a picture of a simple planter I first made to grow flowers on my porch rails. I then figured out it was the perfect size for growing microgreens in my basement using fluorescent lights.
The materials are nothing more than three cedar fence boards and a few nails. I prefer to use cedar instead of treating it that way. I know there are no chemicals from the treating process. The cedar boards have lasted me two years with no issues as long as you are not over watering.
In the video below I cut the boards a bit longer, however I suggest cutting them at 50 inches. Since they are six feet long or 72 inches total it leaves plenty for you to use the scraps to make the end and center blocks.
Once completed you can pair three of these side by side with a single four foot fluorescent light. This allows them to be grown inside in a room such as the basement without issue.
Given that I am using artificial light instead of sunlight I normally just spray them down with a 1 liter spray bottle with ordinary tap water in it. That way they do not become over watered. This prevents mold and rot issues as well as prevents water leaking through onto my floor.
Now for the build video.
Learn About Hydroponics In our Kratky Hydroponics Article
Hand Picked Microgreen Related Products From Amazon
These items are hand picked in order to get you started on your microgreen journey. I tried to select items that were both helpful, as in the case of the two listed books and value conscious. This does not necessarily mean the cheapest but does mean the products that I think are the best value. This was determined by considering the price, pictures of the items and the reviews from other buyers. I have not personally used these items as I buy most of my supplies locally.
Enough chatting, here is the list. Amazon does not allow me to list the specific prices of the items here, but you can check them out by following the affiliate links below.
Books:
Microgreens: How to Grow Microgreens for Fun or Profit
Microgreen Garden: Indoor Grower’s Guide to Gourmet Greens
Trays:
SHEING Seed Sprouter Tray 5 Pack
1020 Garden Growing Trays 5 Pack
Soil:
Miracle-Gro Potting Mix 2 Cu Ft
Minute Soil – Compressed Coco Coir Fiber 1 Block = 15 Gallons of Soil
Seeds:
Country Creek Acres Arugula Seeds
Gerbs Raw Super 7 Seed Mix – Non GMO – Keto and Paleo Friendly


One Comment