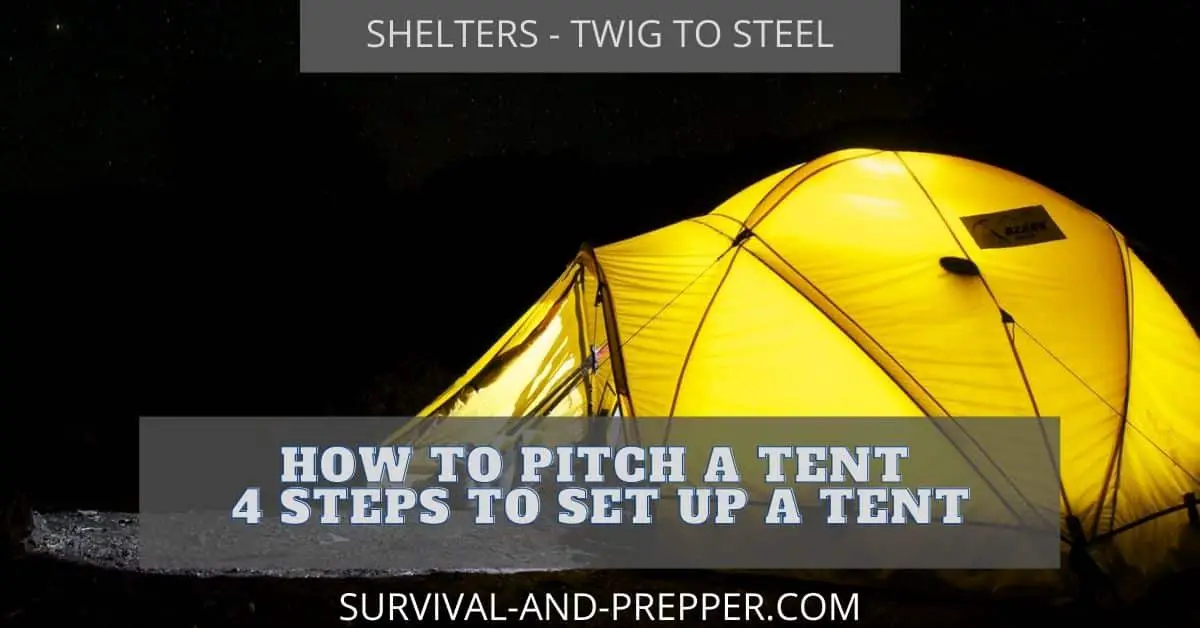
How to Pitch a Tent – 4 Steps to set up a tent.
Choosing a Site
Learning how to pitch a tent requires several steps, most important of which is knowing how to pick a site. You will want to find a site that is level and free of roots, rocks and other objects that could damage your tent. You want to avoid setting up in a low spot as it could pool water if it rains. At the same time hill sides could pose a danger in the rain do to wash outs. Ideally you want a slight rise in the site so that any water can drain away.
Depending on your environment will determine if you want to be near trees or out in the open. If there are lots of trees around then getting closer to a large trunk is ideal as its limbs will provide you with some additional shelter. However, if the area is largely open fields then you may want to maintain at least thirty or forty feet from any trees since they may be conductors for lightning if a storm where to arise. Though if possible you should not be out in storms sometimes it cannot be avoided.
Preparing the site to pitch a tent
Prior to your trip you want to have water proofed your tent and learned how to set up your tent by reading its instructions. That will have given you a rough idea on the amount of space needed for the tent. Once you have selected a site then you will want prepare it for the tent. This generally involves removing any rocks and sticks that may be present.
One thing to keep in mind is where you are at. If you are back country camping then try and avoid disturbing the land anymore than necessary. If you are in an established camp ground then this is not as big of an issue, most of the time there is a designated pad that already prepared.
Once you have removed any rocks and sticks it is a good idea to place a tarp or tent pad down first that is either the same size or larger than your tent. This will one help protect the bottom of your tent from any rips or tears and two it prevents moisture from coming through the bottom and into the tent during the night.
Pitching the tent
The next step will vary slightly depending on the style of tent you have. Many smaller one and two person tents will contain rods on the interior of the tent and usually do not need ropes to hold them in place. The rods are installed according to the directions and then the tent is staked into place. The main advantage to these tents is their generally very easy to set up and light weight making them ideal for backpacking.
As you progress up in sizes it becomes necessary to use guide ropes to help hold the rods in place and the rods are moved to the exterior of the tent. Often the fiberglass rods are replaced with metal for more durability. These tents are generally much larger and provide room for multiple people in addition to being much more durable. It is important to note the position of the supporting ropes so that they don’t trip up people.
See also Top 10 Best Camping Tents of 2020
One tip on making the supporting ropes more visible is to tie small pieces of white or fluorescent tape around them. The downside to these tents though is that they are generally much heavier than their fiberglass cousins thus making them difficult to carry very far into the wilderness.
The last step in how to pitch a tent
The final step is to go back to the tarp that you placed on the ground under the tent. You will want to roll the edges of the tarp or plastic up until you can tuck them under the edge of the tent. This is important so that if it rains the water will run down the tent walls and onto the ground. If it runs down the tent walls and onto the base layer tarp then it will go under the tent and you will find much of your gear gets wet from the water coming through the floor of the tent.

A final option that is generally not necessary is to hang a tarp above the tent area. If you go this route it is generally advisable to use a heavy duty rope anchored to a tree behind the tent about 2 foot higher than the tent. Cross over the top of the tent to a tree in the front at a height of around 3 foot higher than the tent. Drape your tarp across this rope and tie off the sides. This will insure that any water that falls on the tent runs off to the back of your camp site and not right in front of the door to your tent.
Conclusion of How to pitch a tent
So there you have how to pitch a tent in four easy steps. The actual steps on how to set up your tent should be listed with your tent packaging and you want to practice setting it up at least once prior to your trip. Once you have set up the tent during the practice run, examine the tent stakes and ropes to make sure they are sufficient.
I often opt to carry some extra cord and replace the stakes with more durable ones that can be found in most camping stores. This gives more options when it comes time to stake the tent down and ensure that it doesn’t blow away in heavy winds.
Check out The Best Place to Camp in Each of the 50 States
Check out our post on Why you should be come a Prepper, and be sure to sign up for our Newsletter.